Activity 14- Obstacle Avoidance |
In this activity, we are going to improve upon some of the work we’ve already done with the navigation of the Scribbler. One of the key problems so far is that even with our sensors detecting objects on the left and right, the Scribbler still ends up in situations where it will hit a wall or an object and get stuck. The wheels keep turning but the robot is moving nowhere.
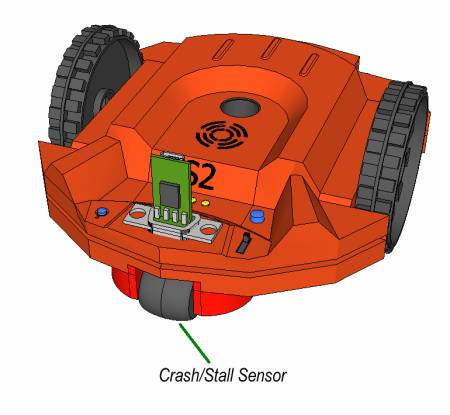
There is another sensor we have at our disposal; The Crash Sensor. Sometimes called a stall sensor, the crash sensor is located in the rear of the scribbler in the back wheel in the center. Even though this wheel isn’t powered by motors and we can’t programmatically control it, we can read what it is doing by using a question Tile. Just like we can check for objects or lines, we can check to see if the rear wheel is moving or if it is stalled.
If the rear wheel isn’t moving and the front wheels are, Scribbler assumes that the robot is stuck. One way you can test this stall senor is by placing the Scribbler on a block and programming it to move forward. Since the wheels are moving, but the rear wheel with the stall sensor isn’t moving, Scribbler will think it is stalled and return a TRUE answer when the question Tile for the stall sensor is used.
View the Stall Sensor Experimentation section before starting this activity.
Pre-Activity Check List:
Activity Steps:
>>Update the Lesson Worksheet with your observations. |